Canopies & Walkways
- All Canopies & Walkways
- Fabric Canopies
-
Polycarbonate Roof
Canopies - Covered Walkways
- Enclosed Canopies
- MUGA Canopies
- Timber Canopies
- Entrance Canopies
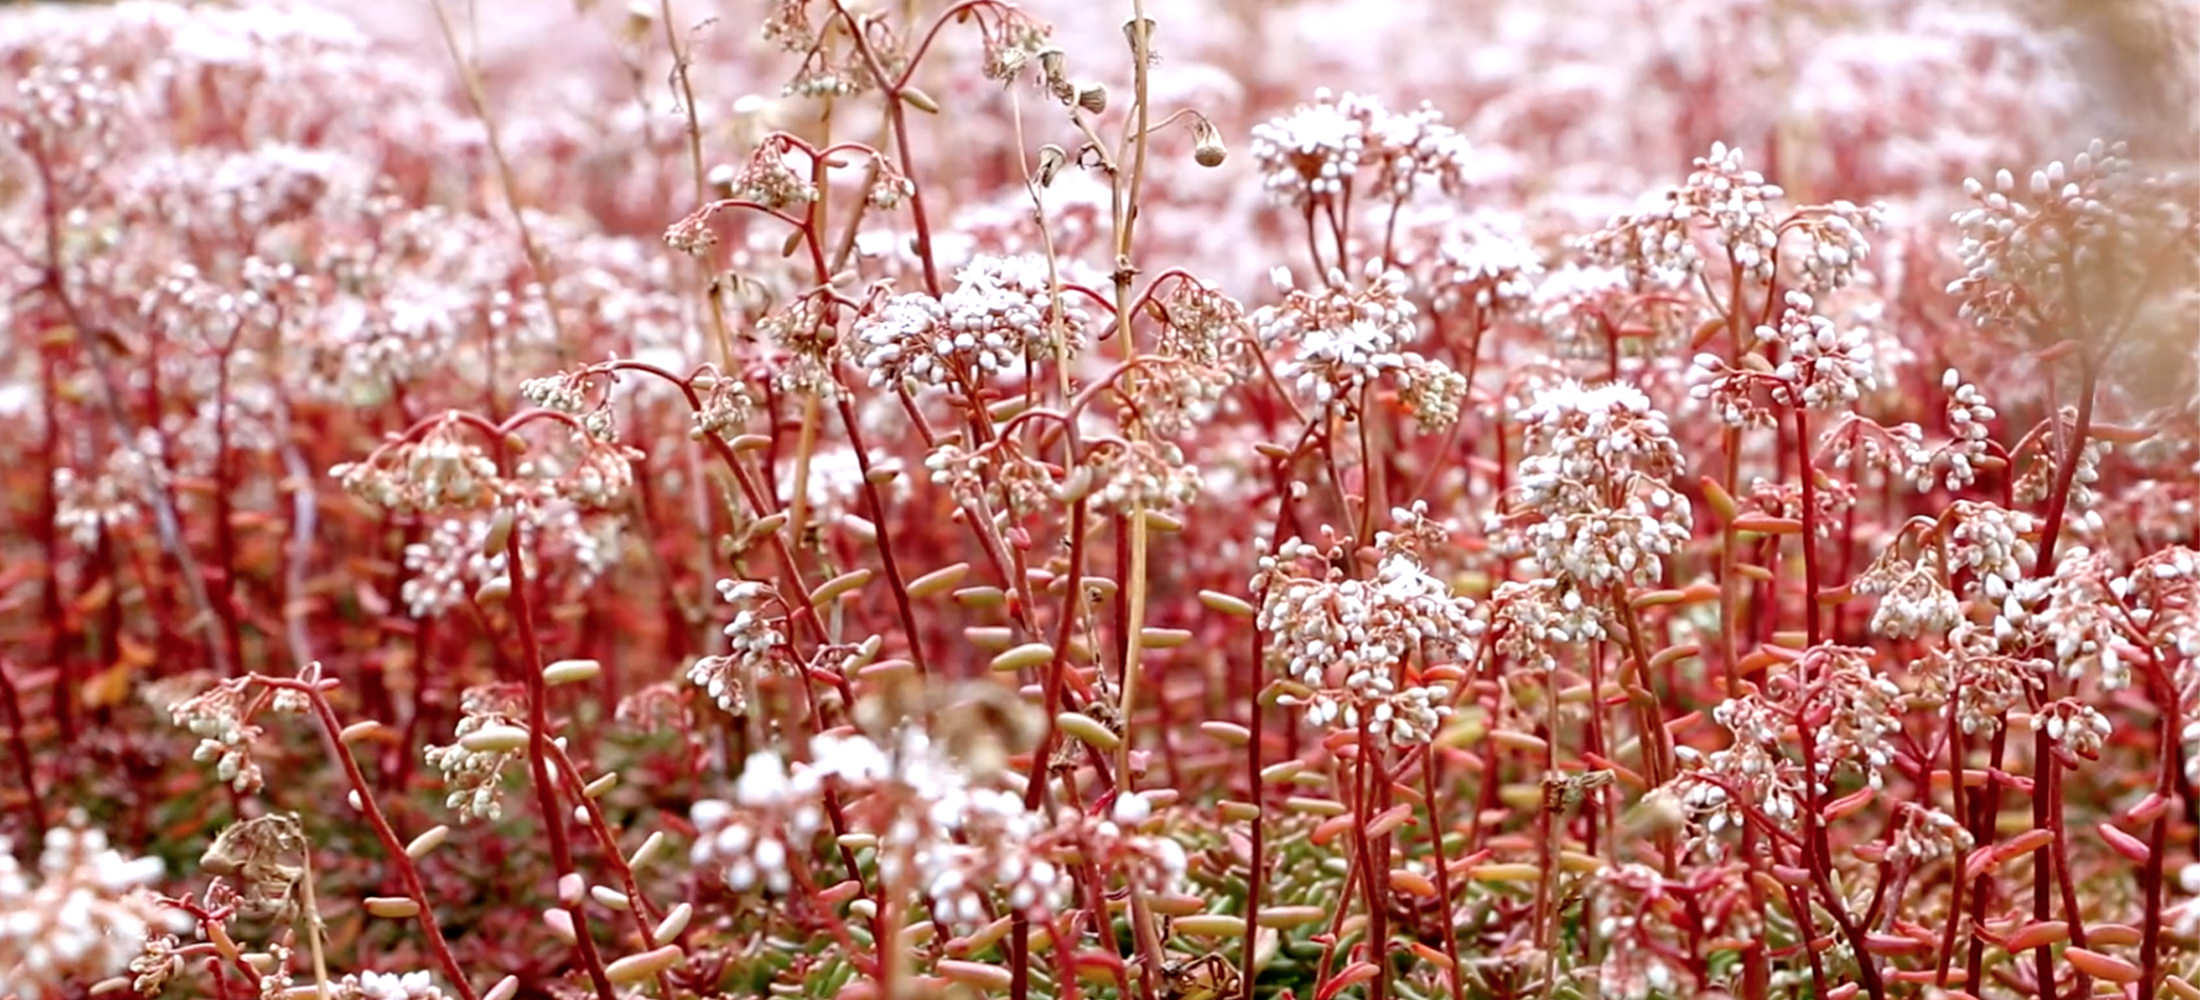
Green Roof Canopies: How to Maintain a Sedum Roof
Green roofs, also known as sedum roofs, are becomingly increasingly popular to enhance the ecology of an area and make a valuable contribution to the local biodiversity. They are also very visually appealing and can help buildings to blend into their surroundings. But because a green roof consists of a layer of vegetation that inevitably grows, a very common question is: “How do I maintain a sedum roof?”
The good news is that once it is established, a sedum roof will probably need less maintenance than you might think – for example, only once or twice a year in the spring and autumn. Clearly, however, there are some tasks that are essential if a green roof is to look its best, attract wildlife and cool the building.
To offer some guidance on the subject, this post provides a general overview of the main tasks that are likely to be needed to maintain a sedum roof. (As well as the points below, there may be other tasks – such as additional watering and feeding – that are required in the first few weeks or months after installation, and you should always follow the specific instructions about this that are given by our installation team.)
1. Set up an inspection and maintenance regime
In order to keep an eye on things, a regular inspection and maintenance regime of the sedum roof should be set up. However, the frequency of inspections required can vary – for example, extra attention may be needed during or after heatwaves or other severe weather; also, a roof that is surrounded by a lot of other greenery (therefore filling the air with seeds) might need more work. It is particularly important to inspect and maintain your roof sufficiently during the first year or two in order to help the vegetation become established.
The time of year will also affect inspection requirements. For example, it is a good idea to remove weeds and seeds in the spring before they have chance to flower. Similarly, drainage channels might need more clearance during the autumn.
Also, watch out for pests and diseases that might cause problems with your sedum plants.
2. Weeding
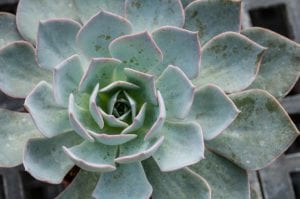
As mentioned above, all unwanted weeds and seeds should be removed. Basically, a weed is any plant growing where you don’t want it to and these will crowd out the sedum plants. Unwanted plants can include grass, moss and even tree seedlings, which can cause significant damage to the roof if they are allowed to get established.
To encourage biodiversity, you might want to avoid using harmful pesticides.
3. Check drainage and clear debris
Drainage channels can become blocked by dead leaves, twigs and other debris such as litter. This material can also block sunlight to your plants. Therefore, all debris should be regularly cleared away. Drainage areas should also be kept clear of growing plants.
4. Feeding
Feeding requirements will vary but, as a guide, a compost rich in nutrients can be added twice a year in the spring and autumn.

Some green roofs do not always retain nutrients very efficiently. Often, this can be seen in the condition of plants growing (or not!) on the roof. Where plants are struggling, fertiliser can be added in the spring to improve growth.
However, it is vital to follow the manufacturer’s instructions with all fertilisers etc. Too much nitrogen will not only encourage weeds but also kill the sedum plants.
5. Watering?
In general, green roofs should not need much watering. The UK climate should provide adequate rainfall most of the time, although plants can struggle during a drought. However, bear in mind that water is very heavy and it can add significant stress to the roof structure.
If additional watering is required, it is advisable to only use a minimal amount rather than soaking the plant bed. Also, on a pitched roof, water should be added at the top of the slope so that it drains naturally to the plants lower down.
6. Replanting bare patches (if needed)
Hopefully, your sedum roof will be a dense canopy of vegetation without any bare patches. But, even with the very best care, some plant failure may be seen while the sedum gets established. Bare patches can occur naturally or show that your sedum needs more nutrients. They can also sometimes be a sign of an underlying problem with drainage.
In most cases, if the patches are quite small and few in number, it is highly likely that the sedum will spread naturally to cover the bare patches. Alternatively, a few cuttings can be taken from a healthy plant and pressed into the growing medium in the bare patch.
Good luck and enjoy your sedum roof!
Having taken a little bit of care to maintain your sedum roof, you should now be able to enjoy the benefits that it brings for many years to come. Once it is established, you are likely to find that it is virtually hassle-free and requires minimal maintenance, but offers many aesthetic and environmental benefits.